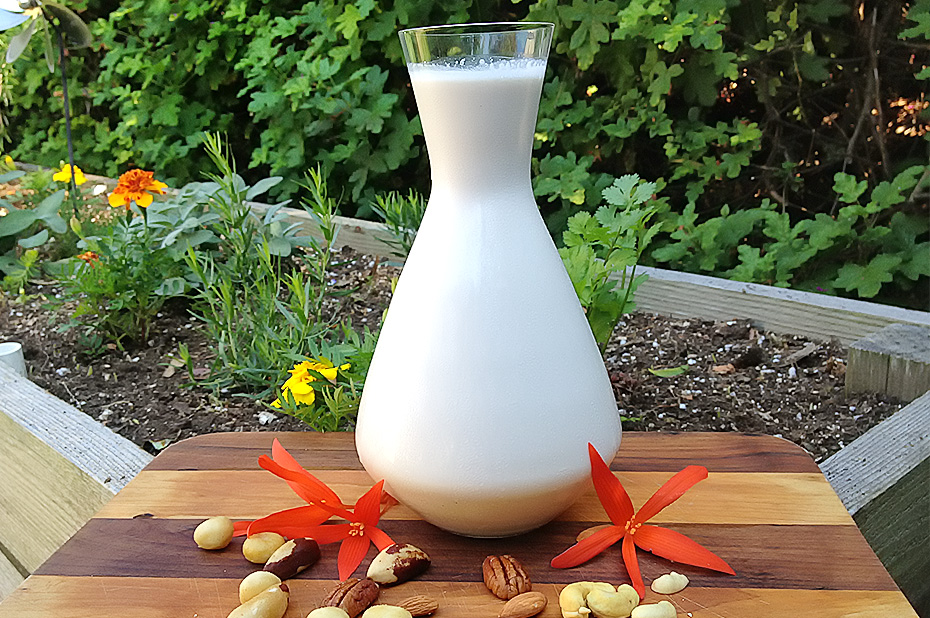
Homemade nut milk is a great dairy-free alternative and is also very cost effective comparatively to buying store bought nut milks. In this post, I’m going to discuss the basics of ingredients and directions, but will also provide three different sweetening options from a no-added sugar to a low-glycemic added sugar to an added secret ingredient option, as well as storage and extended shelf-life options.
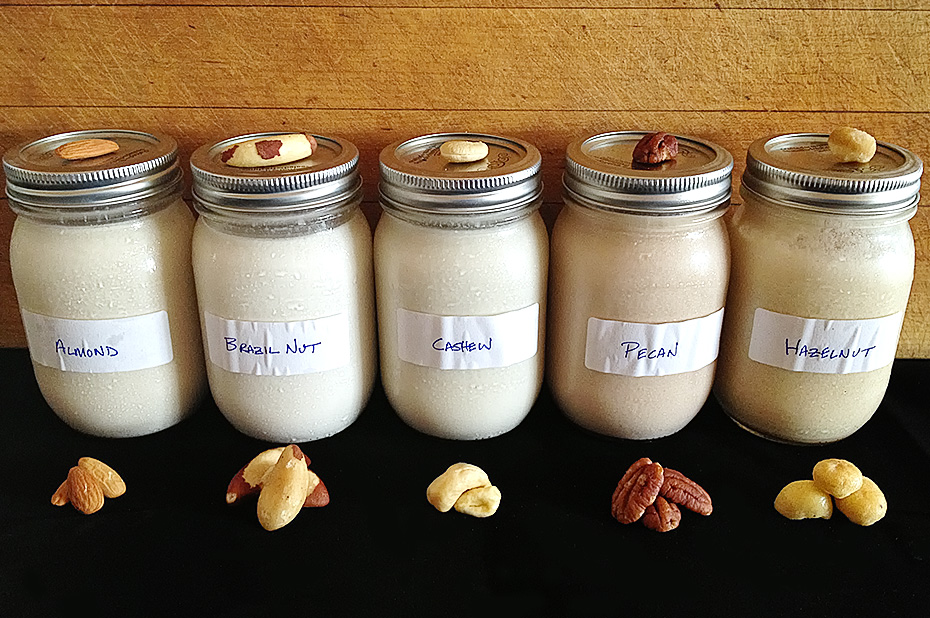
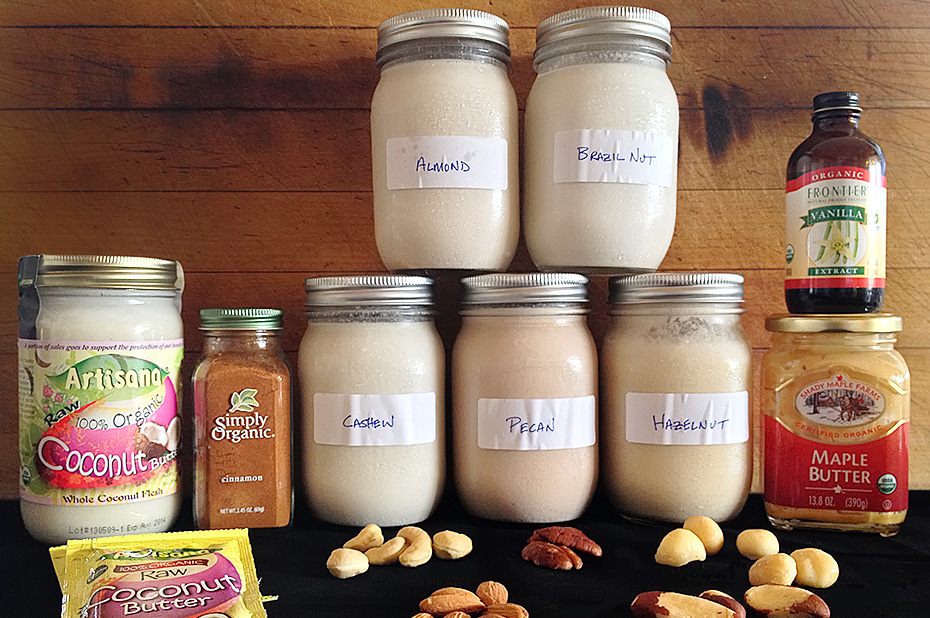
I did five types of nut milk: Cashew milk, Pecan milk, Hazelnut milk, Almond milk and Brazil Nut milk.
Main Ingredients:
As a general rule, I use 2:1 water to nuts. I like my nut milk a little more rich at that ratio. You can also do a 3:1 or even 4:1 ratio for a lighter nut milk.
With these milks, I did:
– 2 cups of raw, organic nuts
– 4 cups of filtered water
Directions:
1. Soak all nuts separately in water (non-tap) for a minimum of 4 hours, or you can do ideally overnight in the refrigerator. Soaking the nuts makes a “softer” nut for blending. It also increases the nut enzyme activity (for easier digestion and assimilation) and increases nutrient content levels, as well as reduces anti-nutrient compounds such as lectins. I started soaking these at 8pm and then they were blended at 6am the next morning.
2. Once the raw nuts have soaked, drain the water and add the raw nuts to a blender with filtered water.
3. Blend the raw nuts and water for 1 minute.
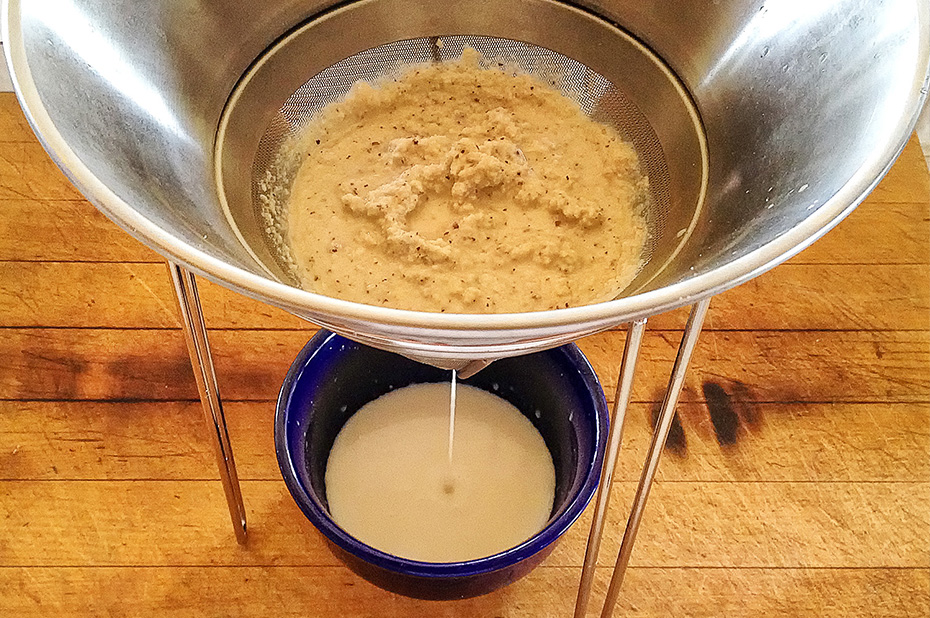
4. Once blended, add the mixture to a chinois like pictured above to filter, or you can use a sieve or nut milk bag.
5. Once it’s done filtering through, add your nut milk to a glass jar and keep refrigerated for plain, unsweetened nut milk. If you’re looking to sweeten and flavor your nut milks, here are a few different options below:
Options for non-plain nut milk:
For all ingredient options below, simply take your unsweetened nut milks and add each back to your blender with the ingredients from whichever option you choose below. Blend for 10-15 seconds on low, or until all ingredients are incorporated nicely.
Option #1: Low Carb & No-Added Sugar Nut Milk
– 1/8 – 1/4 teaspoon stevia powder (depending on how sweet you want- stevia is potent!)
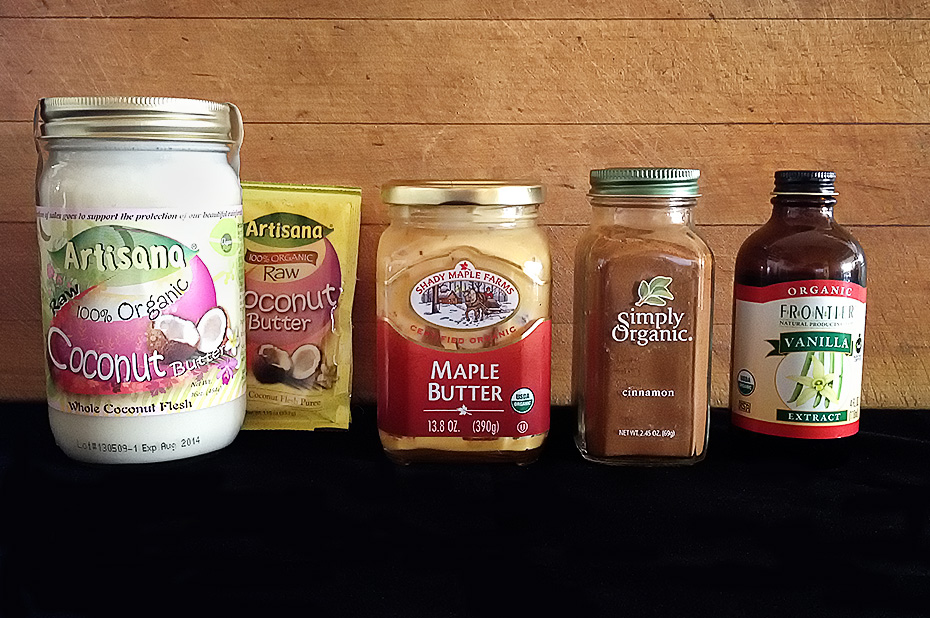
– 1/2 tablespoon vanilla extract
– 1/2 teaspoon cinnamon
Option #2: Added Low-Glycemic Sugar Nut Milk
– 1 tablespoon Coconut Nectar
– 1/2 tablespoon vanilla extract
– 1/2 teaspoon cinnamon
Option #3: Secret Ingredient Sweetened Nut Milk
– 1 tablespoon Maple Butter*
– 1/2 tablespoon vanilla extract
– 1/2 teaspoon cinnamon
Note*: this was the secret ingredient I mentioned on Instagram that I haven’t seen anyone else try before and it turned out amazing in taste! 1 tablespoon is about 17g of sugar so per serving the added sugar is actually pretty minimal. For me personally, I stick with making Option #1 on a regular basis, but when I want an extra special treat or want to make a “holiday version” of this, I’ll be using the maple butter. It was that tasty and gave it a very unique flavor. It’s worth trying out once!
Optional Ingredient for all nut milks: Coconut Butter
I used 1 tablespoon of coconut butter in a couple of these nut milks. I did have to blend the coconut butter about 45-60 seconds with the unsweetened nut milks rather than 10-15 seconds. You may want to pass through a sieve one more time as well when using this, coconut butter can still remain a little bit chunky. Overall, it did make them taste a little bit richer since coconut butter is purely coconut fat, but I find they taste great without adding the coconut butter and it keeps the extra calories down for your nut milk. If you’ve never tried it before, my recommend is to give it a try yourself and decide which you like better, with or without the coconut butter.
Optional Ingredient #2: Coconut Milk
If you’re looking to try a coconut milk / nut milk combo, what you can do is take a 1/2 cup to 1 cup of organic canned ‘lite’ coconut milk (or water down 1/4 cup to 1/2 cup regular canned coconut milk) depending on how much coconut flavor you want. Simply combine in the blender with whatever option ingredients you choose above. I tried this with one of the milks for testing purposes and it tasted great, as well as extends the total amount per batch. What I did not do was add coconut milk and coconut butter because that can get super rich in taste.
Once you finish your nut milks, simply keep refrigerated in a glass jar. Homemade nut milks will usually keep in the fridge for a good 4-5 days.
Also, don’t throw away your nut pulp. You can use these to make nut flours, muffins and other baked goods. Here’s an example of a paleo & vegan-friendly raw chocolate fudge using nut pulp.
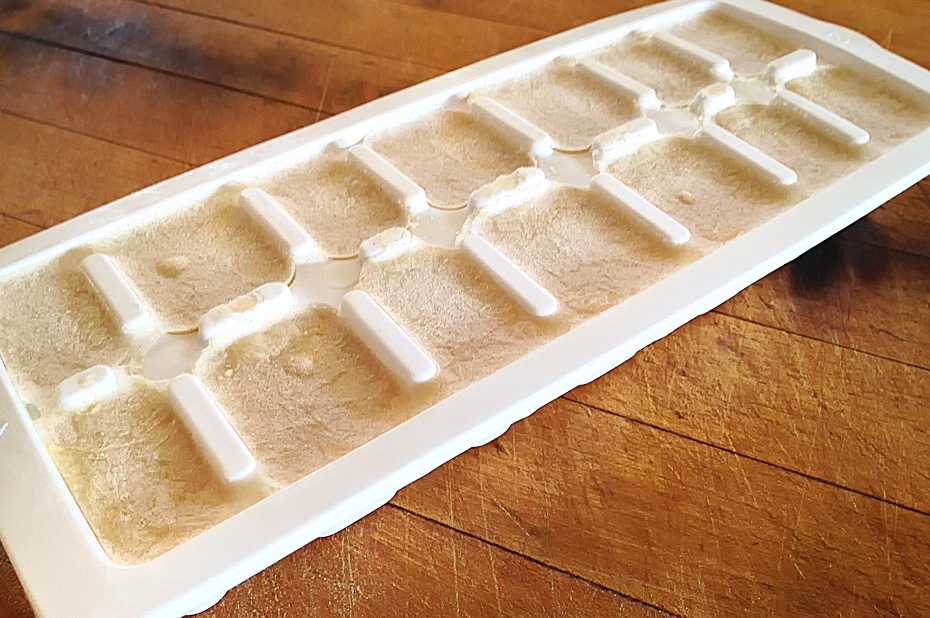
For extended shelf life for your nut milks, a great option is saving the nut milk in a ice cube tray that way you can have on hand whenever you need to use it.
You can do the same with your nut pulp as well. I simply placed all of my nut pulps in a zip lock bag and labeled each to use at a later time to make nut flours or other baked goods.
For me, the cashew and hazelnut milk were hands down my favorite. I’m a big cashew nut (and nut butter) fan. The hazelnut milk was the first time trying it and it was amazing in flavor. Definitely would be my top two recommends if you wanted to try a couple out rather than all of them. Almond milk and Brazil Nut milk came in a close second for me. Pecan milk was good, but my least favorite.
Enjoy!





Maple butter?! I’m all over that!! Great idea!!
JP, thank you! Hands down best added ingredient for sweetening I’ve tried.
Followed up on this because of the instagram post, super suprised at how easy this is to do. Thanks for the tips, instructions and recipe. I’ll be replicating this soon.
You bet Maritza, you’re very welcome. Let me know how it turns out for you 🙂
Jon, this sounds amazing, especially the cashew milk! Now why didn’t I think of that?
I’ve only made it with almonds. Love your pictures too……especially the garden shot.
Thank you for your creative genius!
Thank you for the kind words, Donna.. happy you enjoy!
I’m a big fan of almond milk. But I also like cashew milk and find it much easier to make than some other nut milks. Nice pictures in this post.
Sam, thanks! Hazelnut milk won me over as my new interest but can’t go wrong with Almond milk.
Im new in this and I know my question will sounds like I am ignorant but what you mean when you write this 2:1 or 3:1 ? By the way great idea cant wait for try it.
Hi Amanda, it’s the ratio of cups of water used to cups of nuts used, depending on how much you want to make. So 2:1 would be 2 cups water to 1 cup nuts.. lighter milks you can do the 3:1 or even 4:1 ratio. I usually tell people to play around with the ratios with different batches and find the consistency & richness you prefer. Enjoy!
Ok thank you so much!! I will try to make some this weekend 🙂 Have a great Day!
How long will these last in the fridge?
Hi Courtney, I’ve kept mine in the fridge for up to a week, but to be safe 4-5 days.
Hi.
So today was my first try at making homemade nut milk.
I started out with hazelnut because that is my favourite.
I think it’s fantastic and I will definitely continue.
Thanks for the inspiration!
Hey alright! glad to hear you enjoyed it Andrea
Thanks for the tips and information. I found your blog this morning when I searched for “nutrition facts homemade cashew milk.” The other day I published a blog post about my recent foray into nut-milk making. I had hoped to include nutritional data, but haven’t been able to find any so far. Since we soak the nuts extracting some nutrients but likely far less than all, I haven’t figured out a way to calculate the nutritional data. Do you by any chance know how I could learn what’s in the milk, nutritionally?
Hi Kathryn, on an individual basis, that would be tough. What I would probably do is find the closest match at the store (minimal ingredients) and/or contact an actual nut milk making company and ask them.
Hi,
I love your ideas! But I was wondering what type of nut did you use? Raw, baked?
Thank you
Hi Zorisa, thank you! I use raw nuts when making nut milks.. when we bake nuts, the heat can denature the fat. So on packaging/labels for example, try and avoid “roasted”.. this means they’ve been heated.
I didn’t read ALL the previous comments so I don’t know if this has been covered.
I’m curious about the nutritional info of Brazil nut milk, specifically selenium and other minerals. How much is left in the milk and how much in the pulp?
Looks yummy. I have some Brazil nuts on my counter, waiting right now!!
now that i make my own nut milk i will never go back to store bought. i love almond and cashew milk. on my list of nut milks to make are hazelnut, brazil nut, pecan, and pistachio. dates are my favorite sweetener. i use a nut bag. i never saw a chinois before. always learning something. 🙂 i will check it out.
Hi Dawn, I’m the same way! Homemade nut milk is so much better and doesn’t come with the unnecessary additives we can find in store bought (carrageenan, gums, etc.). If you’re an egg nog fan (and because it’s that time of the year right now), check out my paleo egg nog… here’s the link to the post. I use a combo of nut milk and coconut milk for a really rich n’ creamy dairy-free treat! Can’t even tell the difference from the regular stuff.
Did you have to strain the cashew milk? I’ve been looking at recipes to make cashew milk and most people have said for cashew, there is no need to strain like one would with almond or most of the other nuts. What did you do? Did you notice a big difference in strained vs unstrained?
Hey JW, out of all the nuts, cashew is probably the one you can get away with without straining (soak them really well before blending to soften them up + blend really well).. that said, there will probably still be some “pulp”. Think: orange juice with pulp or oj without pulp, which do you prefer? If you want it really silky smooth, I would strain.