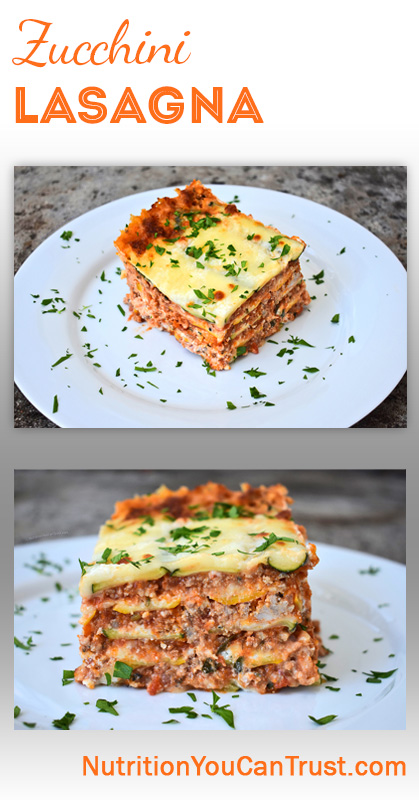
It’s getting deep into the summer growing season and the garden really starts to produce a lot of summer veg from July to September, and even into October.
This year I ended up planting nine different varieties of zucchini/squash, including Golden, Black Beauty, Custard, Panache Scallop, Rampicante, Spaghetti Squash, Green Tint Scallop and Grey Zucchini from seeds I got from Baker Creek Heirloom Seeds. Last year I didn’t plant any zucchini and must admit, forgot how abundant and generous these plants can be with producing fruit (see the veg patch picture below). Just one golden zucchini plant so far this year has produced about 20 fruit (it gets full sun all day and growing in Baby Bu’s Biodynamic soil), so there’s been a lot of zucchini on the menu so far this summer and will be likely into late September, even October (hope you like zucchini because I’ve got some low carb zucchini enchiladas, zucchini breakfast muffins and some other things on my radar to make and share with you over the coming weeks!).
So with the zucchini this summer a lot of the time I’ll simply just slice and saute it up as a side to a main meal during the week… something garden-to-table that’s fresh picked, quick and nutritious I can have with some salmon, for example. I’ll also slice the different zucchini/squash up and freeze for future fall/winter meals. And then on the weekends I’ll get into the kitchen, pour a glass of wine, get the music or a podcast going and get a little more ambitious with something like this zucchini lasagna.
My goal: I wanted to think a little more outside of the box instead of making the usual suspects like traditional zucchini bread or a raw zucchini bread, endless spiralized zucchini noodle recipes, etc… so my brain taste buds said why don’t we do a lasagna recipe that’s lower carb and more keto-friendly, as well as grain and gluten-free without the typical lasagna pasta sheets…that’ll be good, right?
I’ll just say this… If you like lasagna and you dig lower carb options, you’re going to love this!
Let’s check it out…


Click Here to Pin and save for later!
INGREDIENTS
Servings: about 8-10 depending on how big you slice it up
- 6-7 large zucchini, mandolin’d into strips
- 32 oz. marinara sauce
- 1 lb. ground beef
- 1 lb. ground pork
- 1 large yellow onion, diced
- 2 carrots, diced
- 2 celery sticks/leaves, sliced and chopped
- 8 garlic cloves
- 16 oz. shredded mozzarella
- 16 oz. ricotta
- 5 oz. container of grated parmesan
- 2 tablespoon dried oregano
- Handful fresh herbs (Italian parsley, Sage, Thyme), chopped
- 1 egg
- Pink salt & pepper
METHOD
Note: sequencing pics just below and printable step by step method at the bottom

The summer zucchini/squash patch

Weekend basket harvest from the Farmacy Garden.
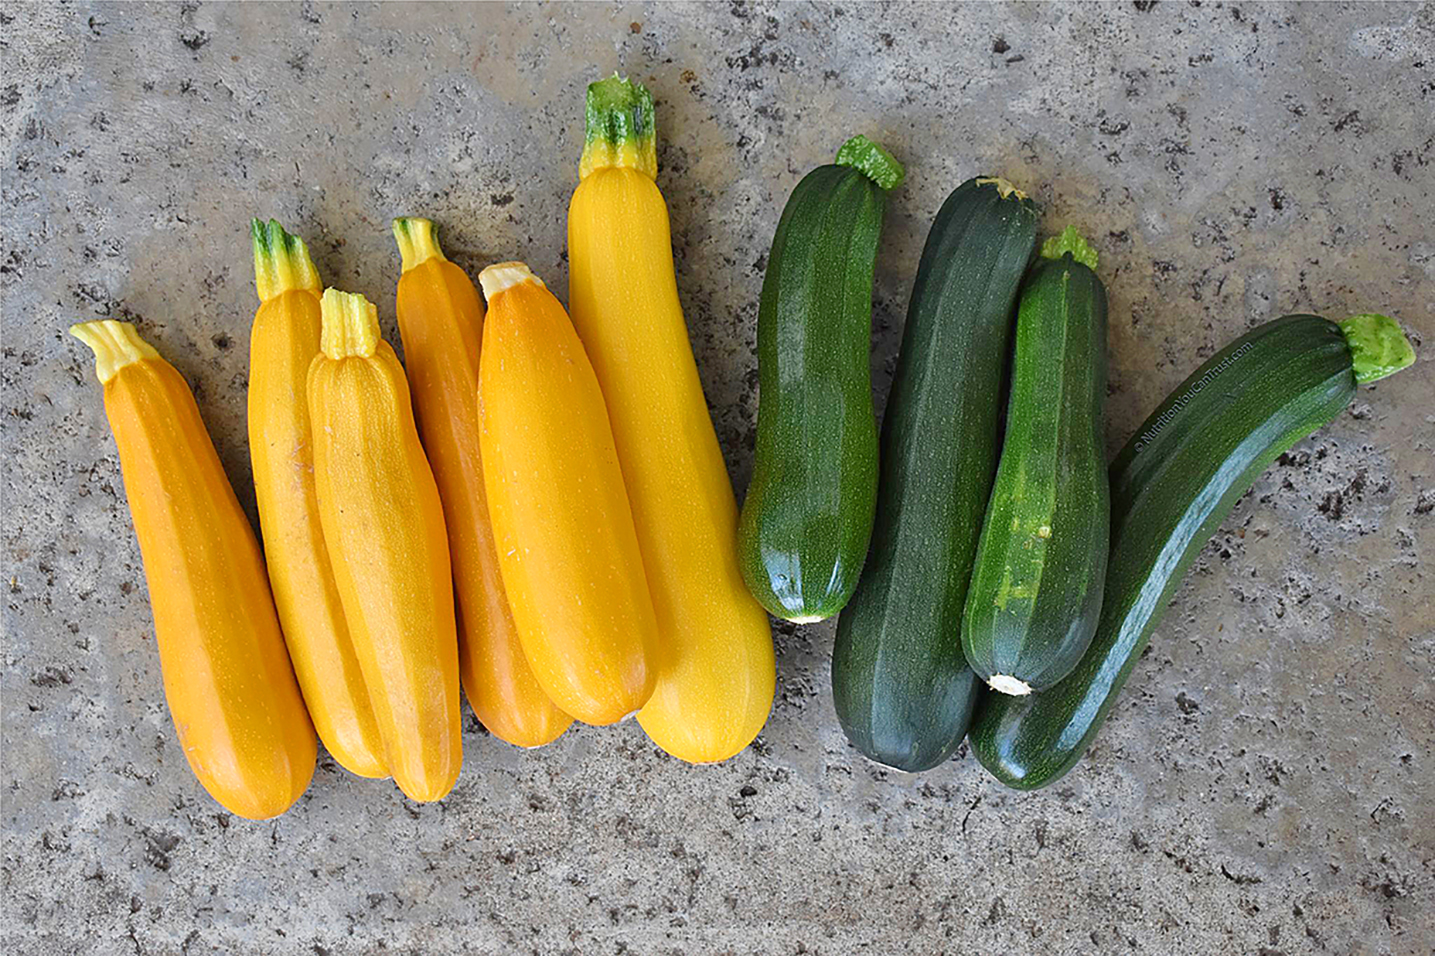
Some of the different Golden and Black Beauty zucchini used in this zucchini lasagna recipe.
You’ll need 6-7 this size for this low carb lasagna.

Some of the onions and garlic used in the zucchini lasagna
These were harvested from the farmacy in late spring (I keep these in the pantry in a dark place and they last throughout the year)

Fresh picked herbs for the zucchini lasagna: Italian parsley, sage and thyme

First up with the zucchini lasagna: mise en place (or “prepare”) the mirepoix ingredients (carrot, onion, celery, garlic)
Quick note: I mentioned in the ingredients list above “1 large yellow onion”.
I had some red onion so I threw that in, but the amount you see is the equivalent of one large onion diced up.
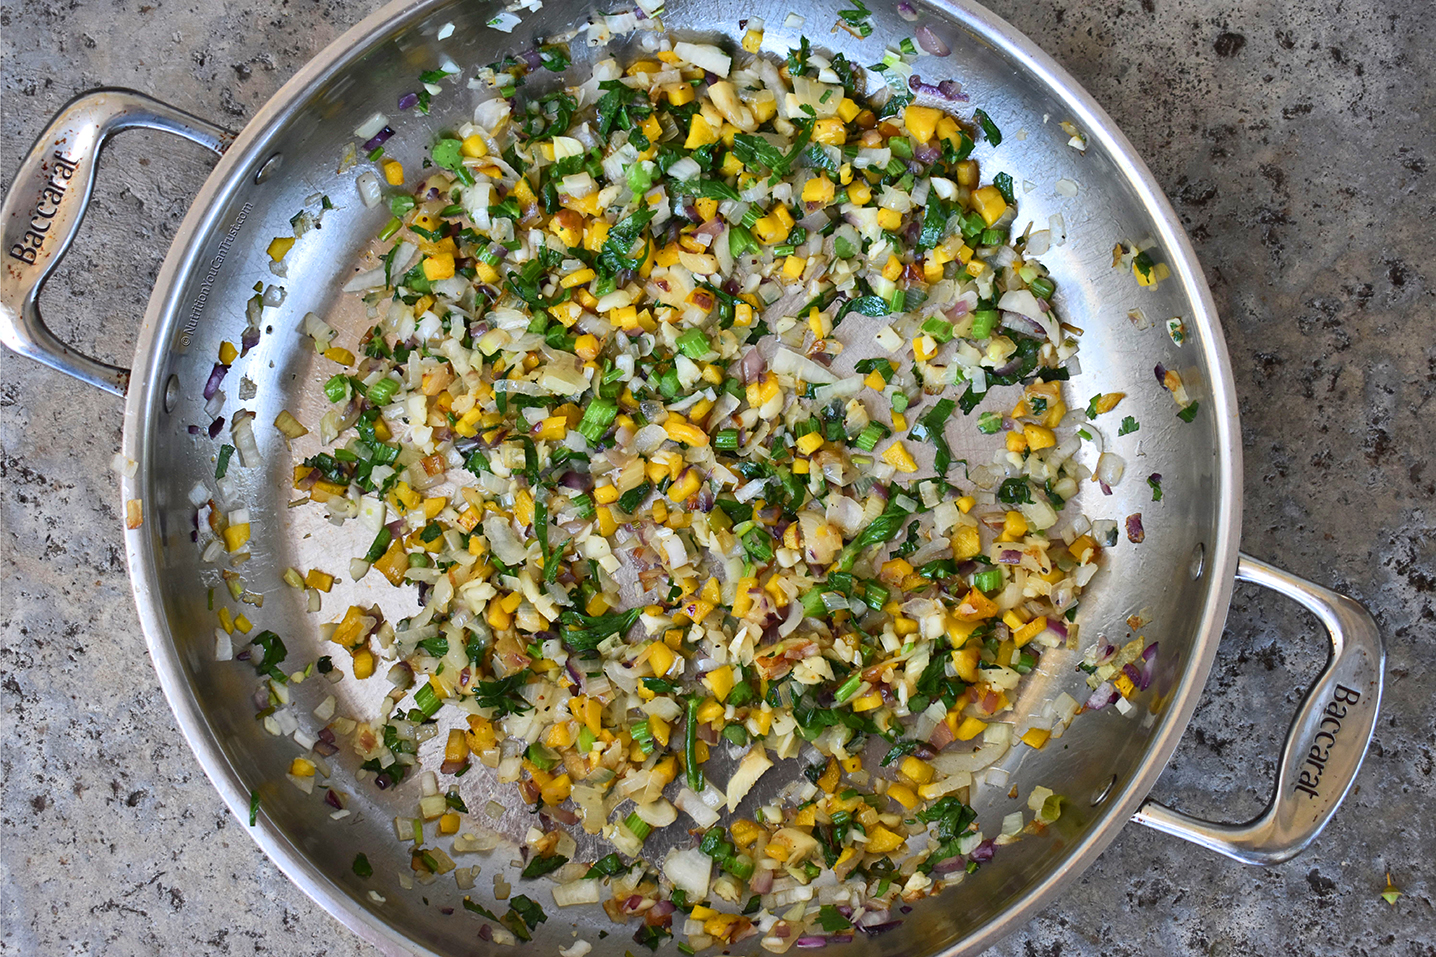
Mirepoix ingredients cooked for about 10-15 minutes total
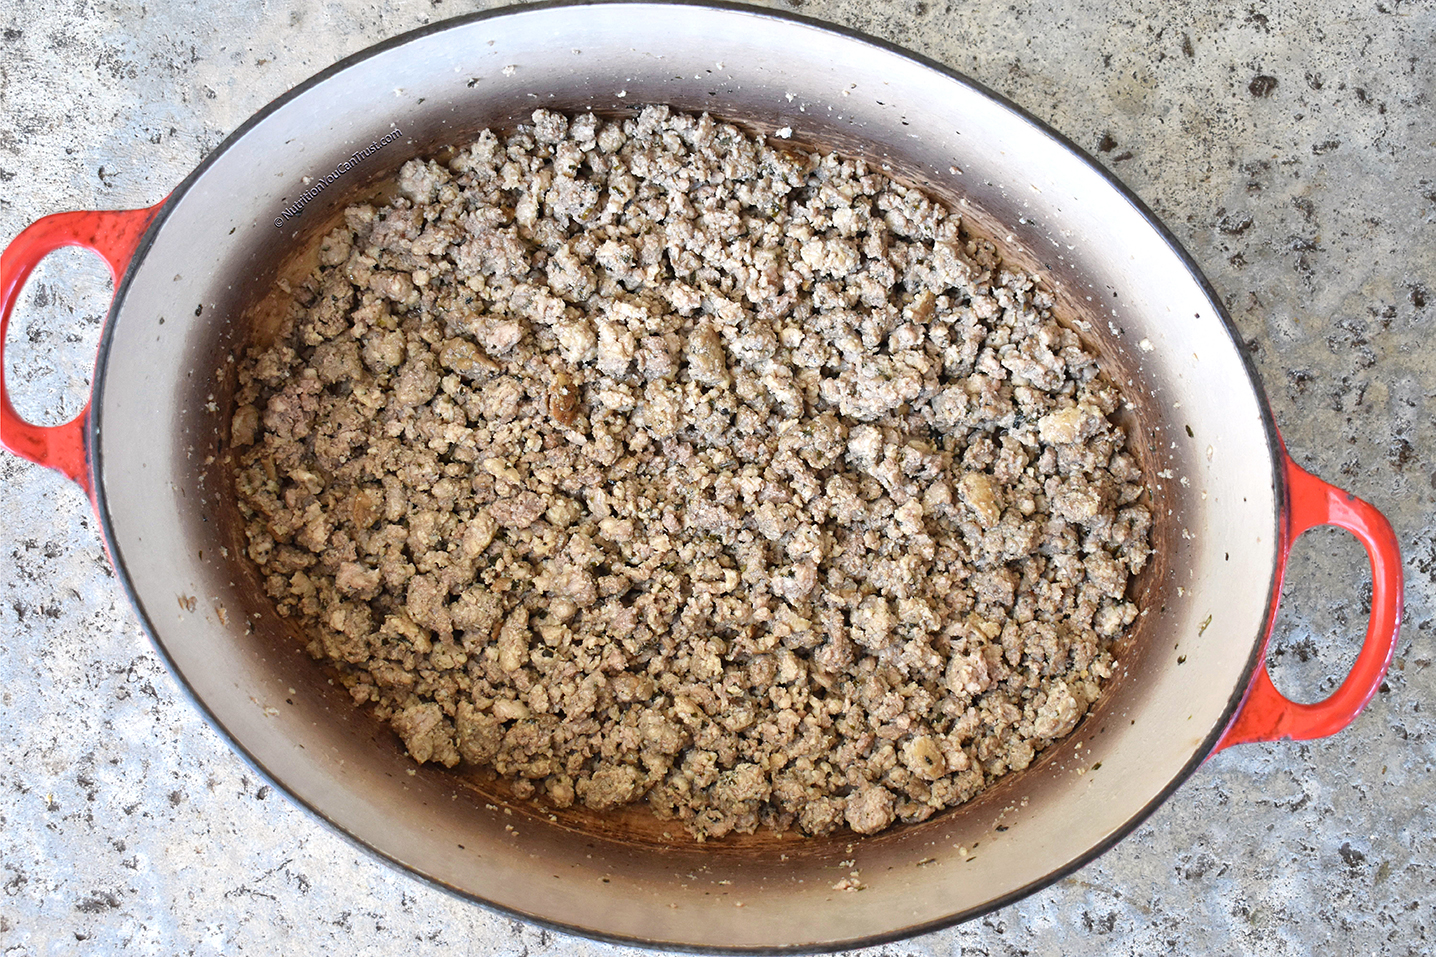
Ground beef and pork cooking separately while the mirepoix is cooking
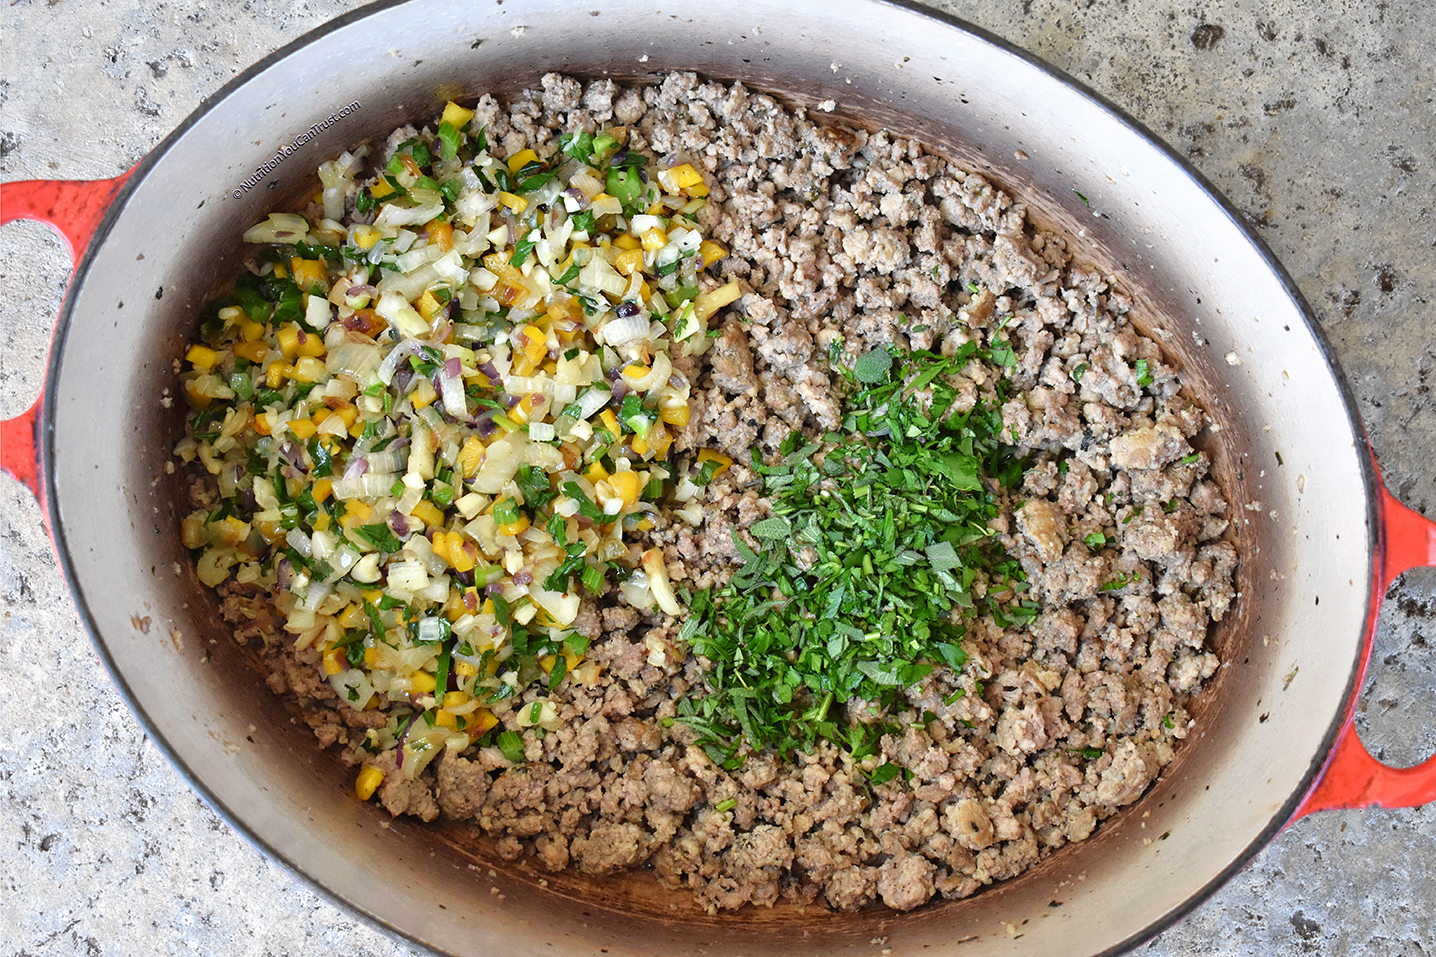
When the meat is done, add the mirepoix and fresh chopped herbs to the pot and stir it all in

Add the marinara sauce and stir in

Our sauce is ready… let’s let it cool a bit while we get the zucchini prepped for our layering

I used the big mandolin side on a grater like this to create the strips.
Note: you’re going to have some chunks of zucchini left (like the lower right green zucchini in the image above).
What I like to do so it doesn’t go wasted is make a batch of zucchini muffins or bread, or even the raw zucchini bread I have on the blog would work.
Worse case if I don’t get every drop of zucchini used up, I’ll saute it as a side to a main meal later in my week
And absolute worst case: it will be composted and reincorporated as nutrition for the garden. Nothing goes to waste.
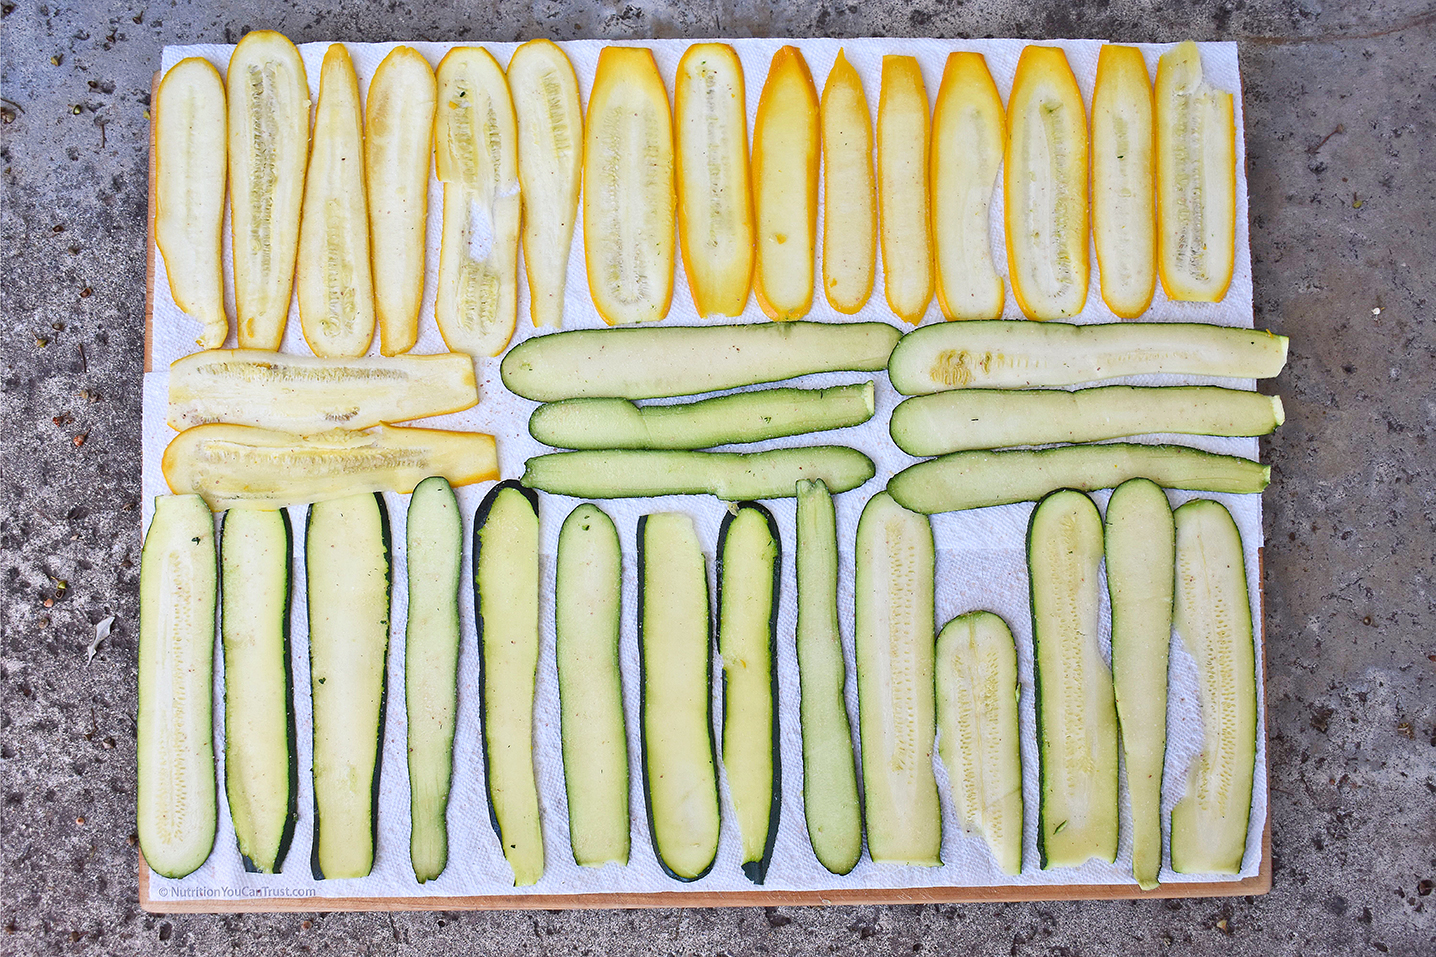
I lay all the strips out on a cutting board with a couple layers of paper towels underneath + sprinkled some salt all over to help draw the water out.
Let them hang out for at least 15 minutes and then finally pat dry them really well before starting the layering.
(we need to get that water out or it can make our lasagna watery, so very important step here)
Quick tip: the larger the zucchini, whether you’re growing it or buying it, the more water it will have.

Shredded mozzarella, grated parmesan and ricotta/egg/dried oregano mixture ready to go.
Let’s start layering:

First zucchini lasagna layer: add some sauce to the bottom of a deep casserole dish
Note: this casserole dish I used is about 3.5 inches deep. I ended up getting 5 layers of zucchini to the top.
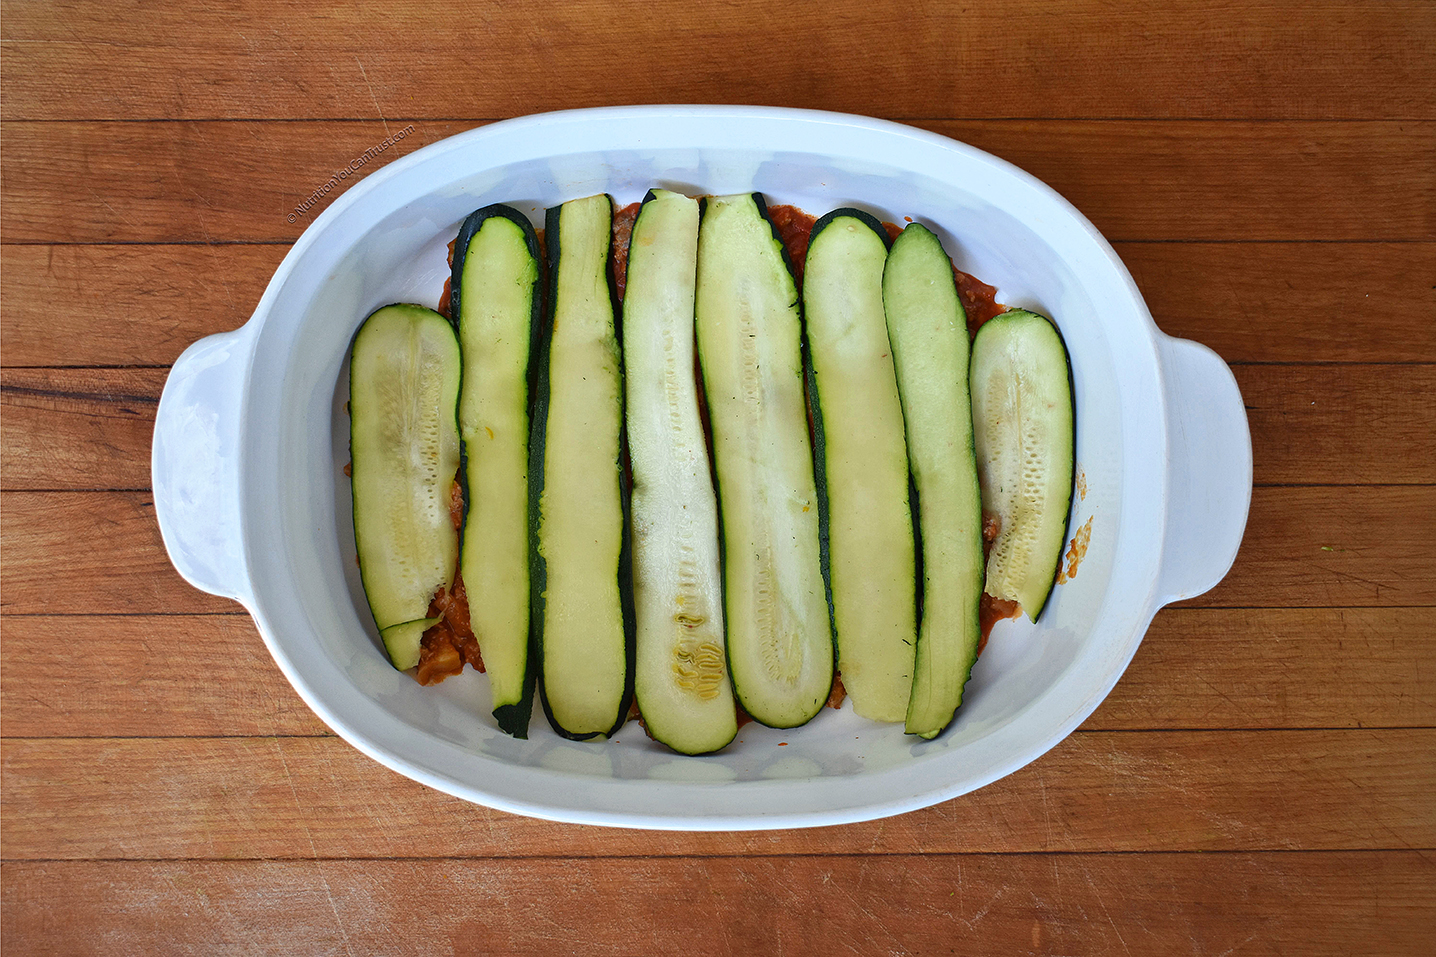
Next zucchini lasagna layer: Black Beauty zucchini strips
Note: if a single zucchini strip doesn’t stretch across your entire casserole dish, no problem…
Just add a smaller piece with it so it reaches side to side, filling in any gaps.

Next zucchini lasagna layer: ricotta
Add some spoonfuls all over and gently paint it evenly across the zucchini with a kitchen brush, spatula or the back of the spoon
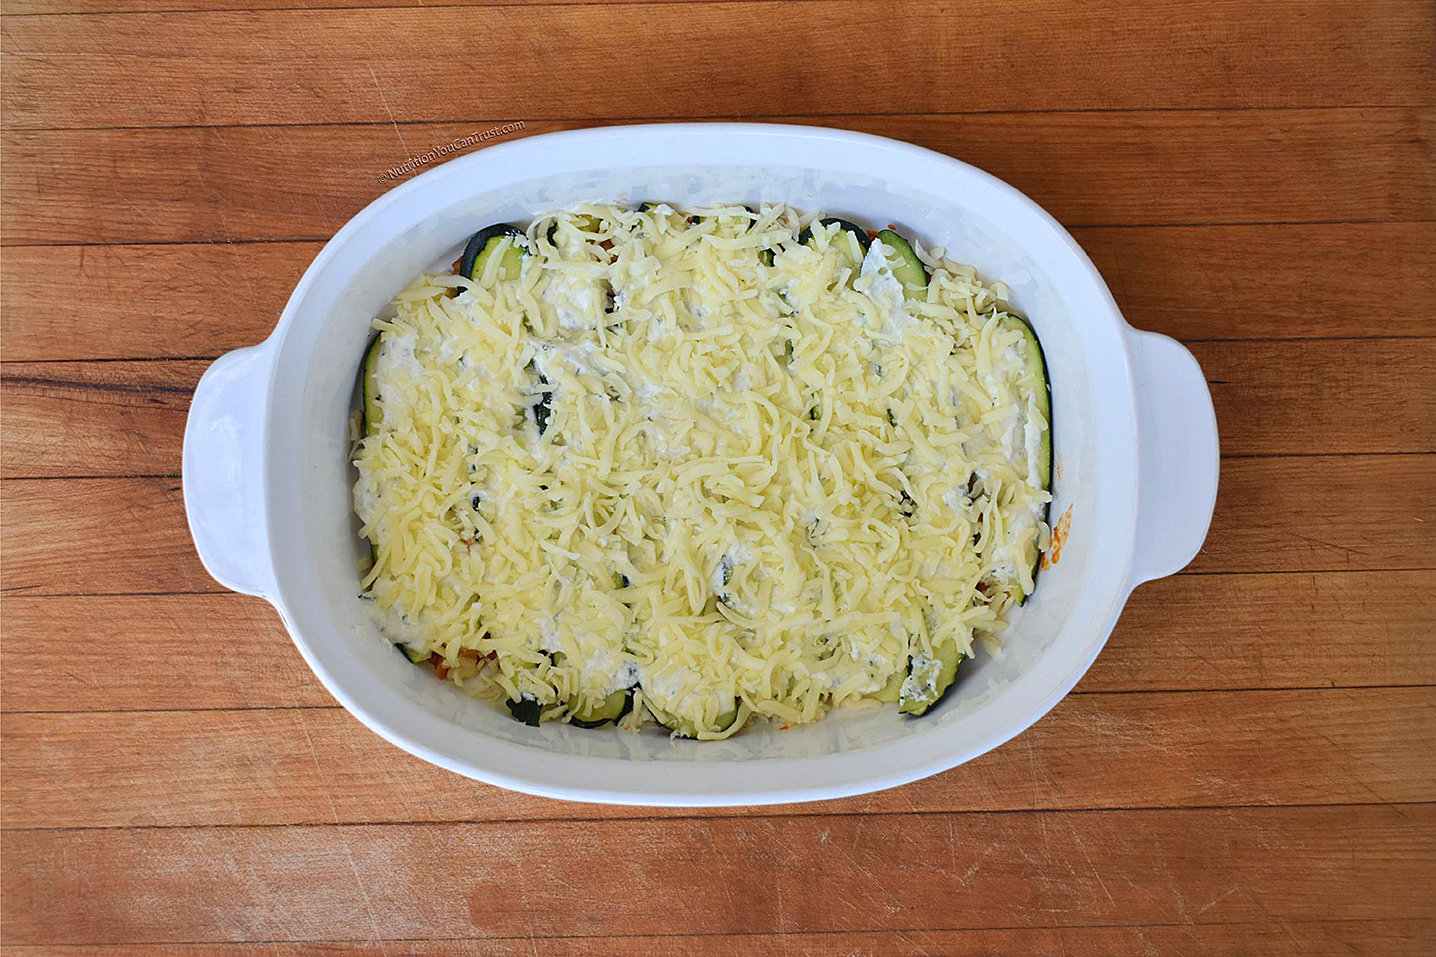
Next zucchini lasagna layer: grab a little handful of mozzarella and sprinkle it all over
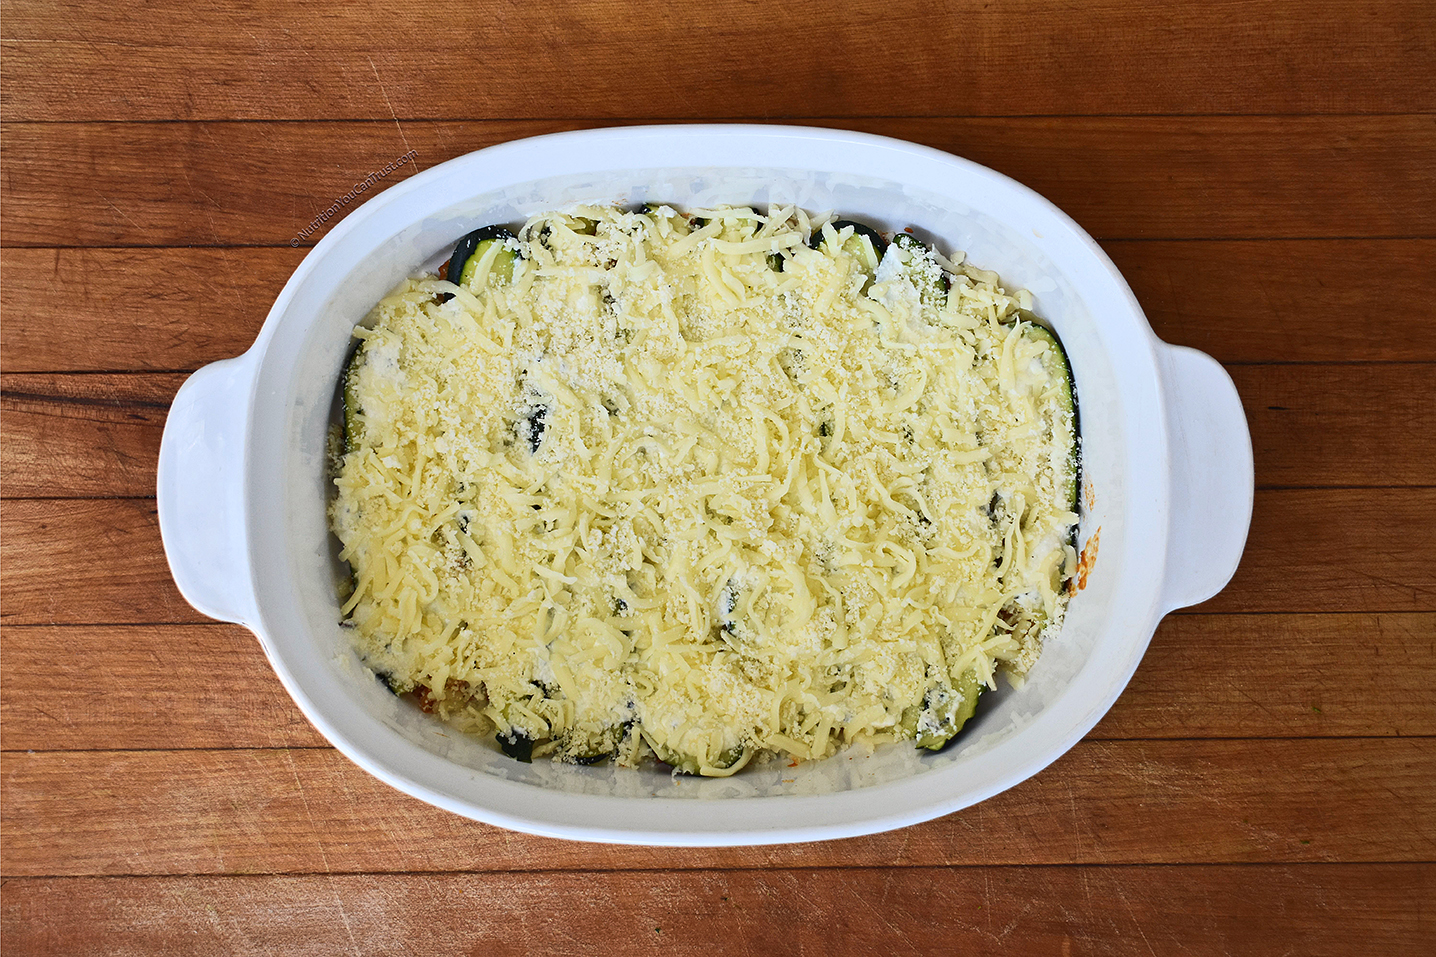
Next zucchini lasagna layer: sprinkle a big pinch or two of parmesan all over
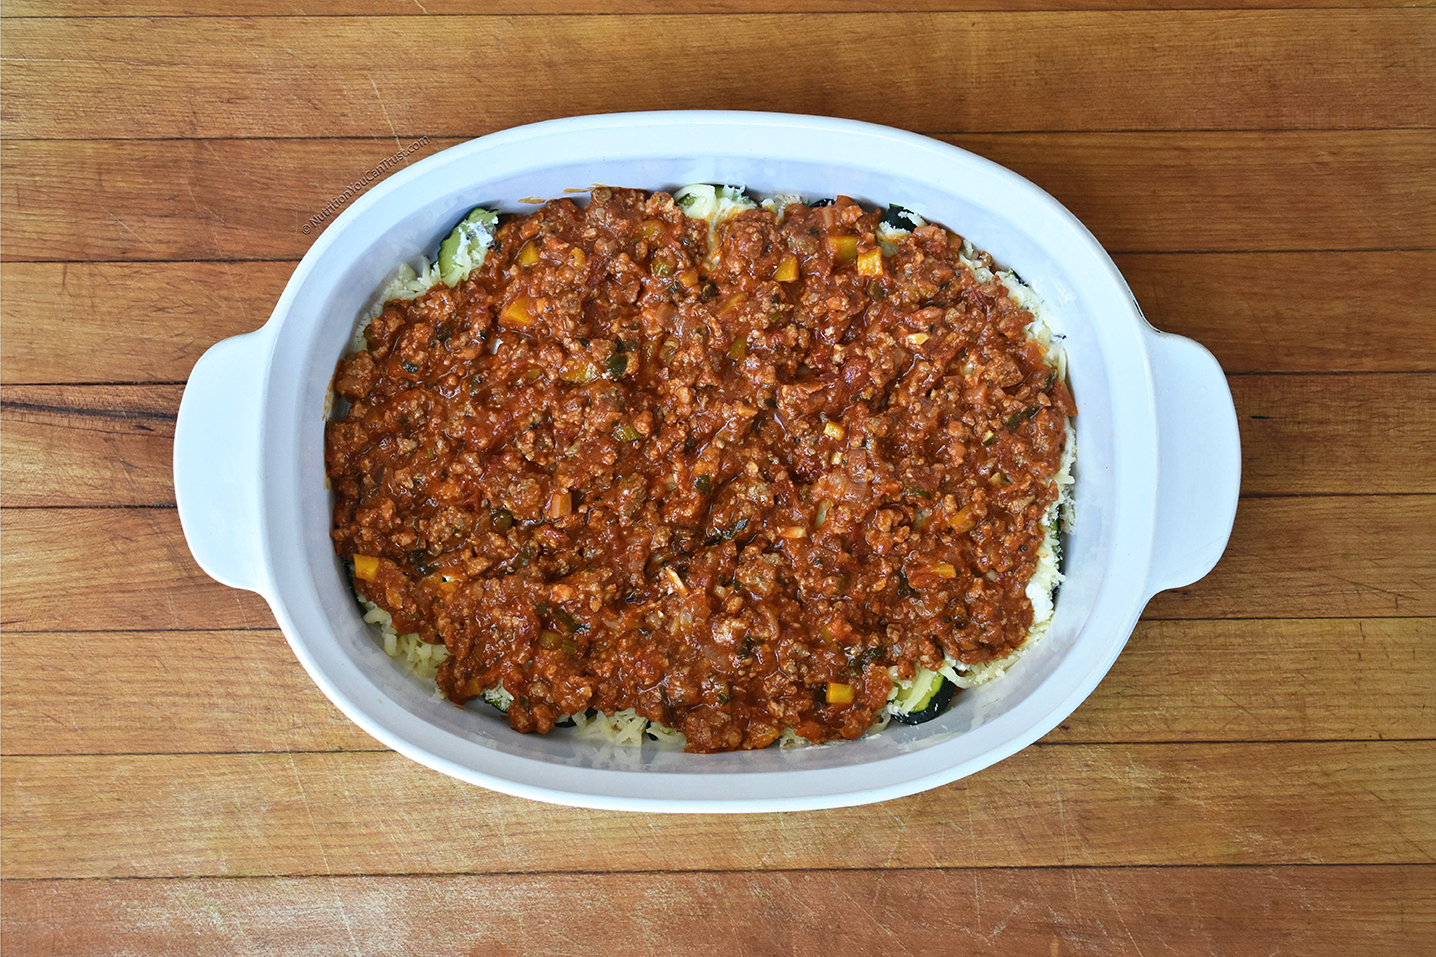
Next zucchini lasagna layer: sauce

Next zucchini lasagna layer: Golden zucchini strips
(Remember what I said above about filling in the gaps? You can see how I did that with the tiny golden zucchini pieces)
And now we repeat the layering process until we get to the top like this:

Once you get close to the top, you want your last layer to be mozzarella to seal it all in.
And then sprinkle the rest of your parmesan all over the mozz
(this helps give us the crispy brown bits and color after it’s baked).
Note: the last layer of parmesan for the top I probably added 3x the sprinkled amount I added on each previous layer
(You can compare this top layer image with the first parmesan layer image above to get a visual idea)
Next up: It’s ready for the oven. In we go…
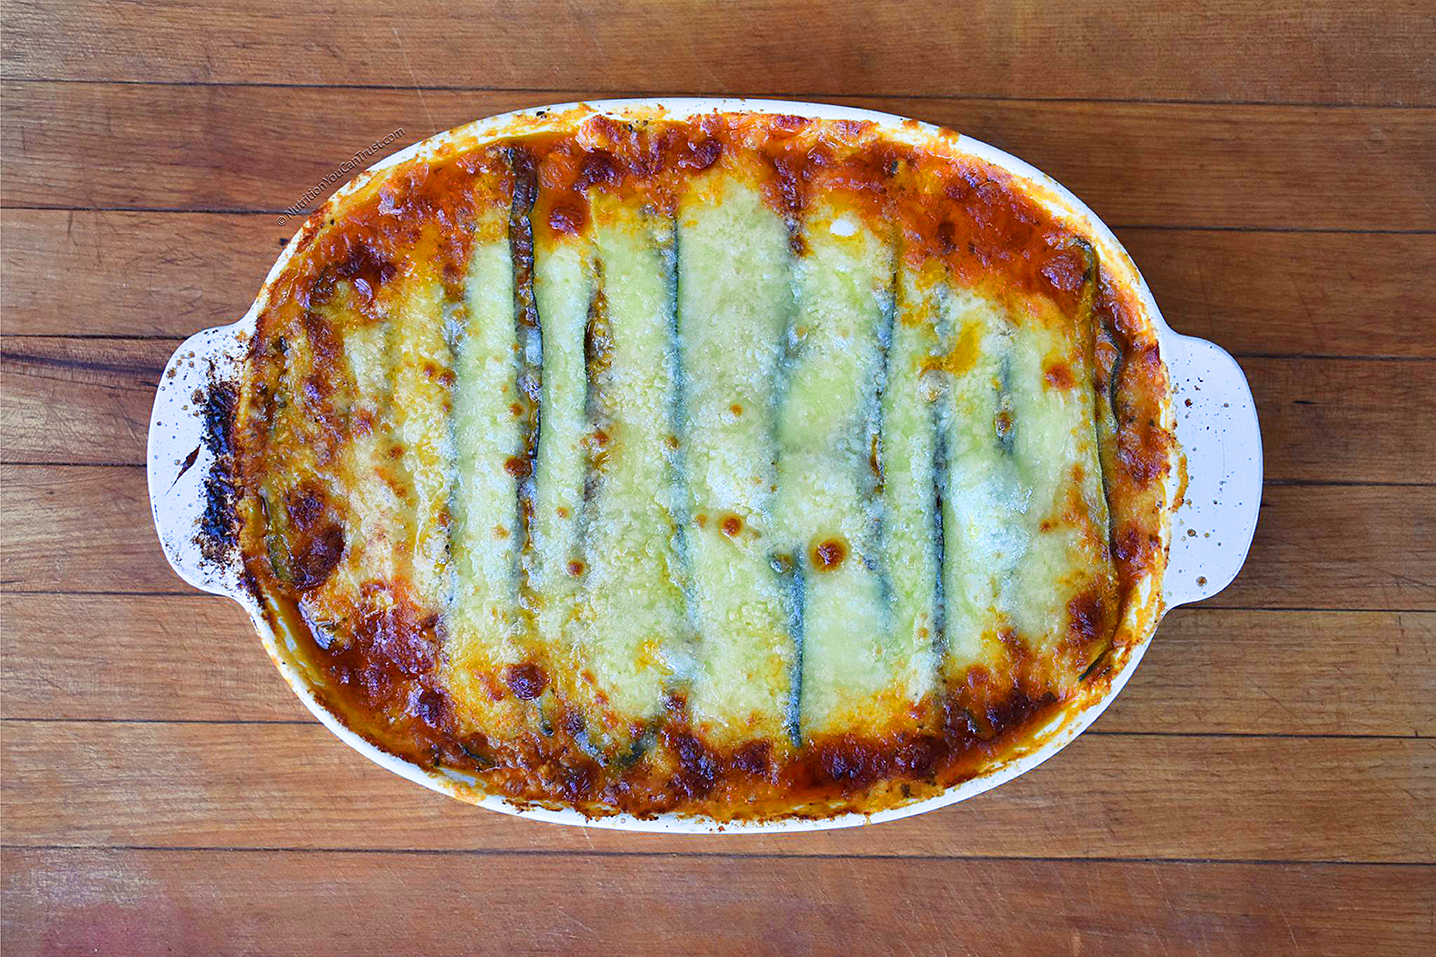
And out we come… Fresh from the oven
(I love how you can see the Black Beauty zucchini strips)

Up close: Crispy and bubbly… I wish you could smell this!
I like to let it rest for at least 20 minutes before diving into it (helps it set up)

Finally served with fresh Italian parsley sprinkled all over
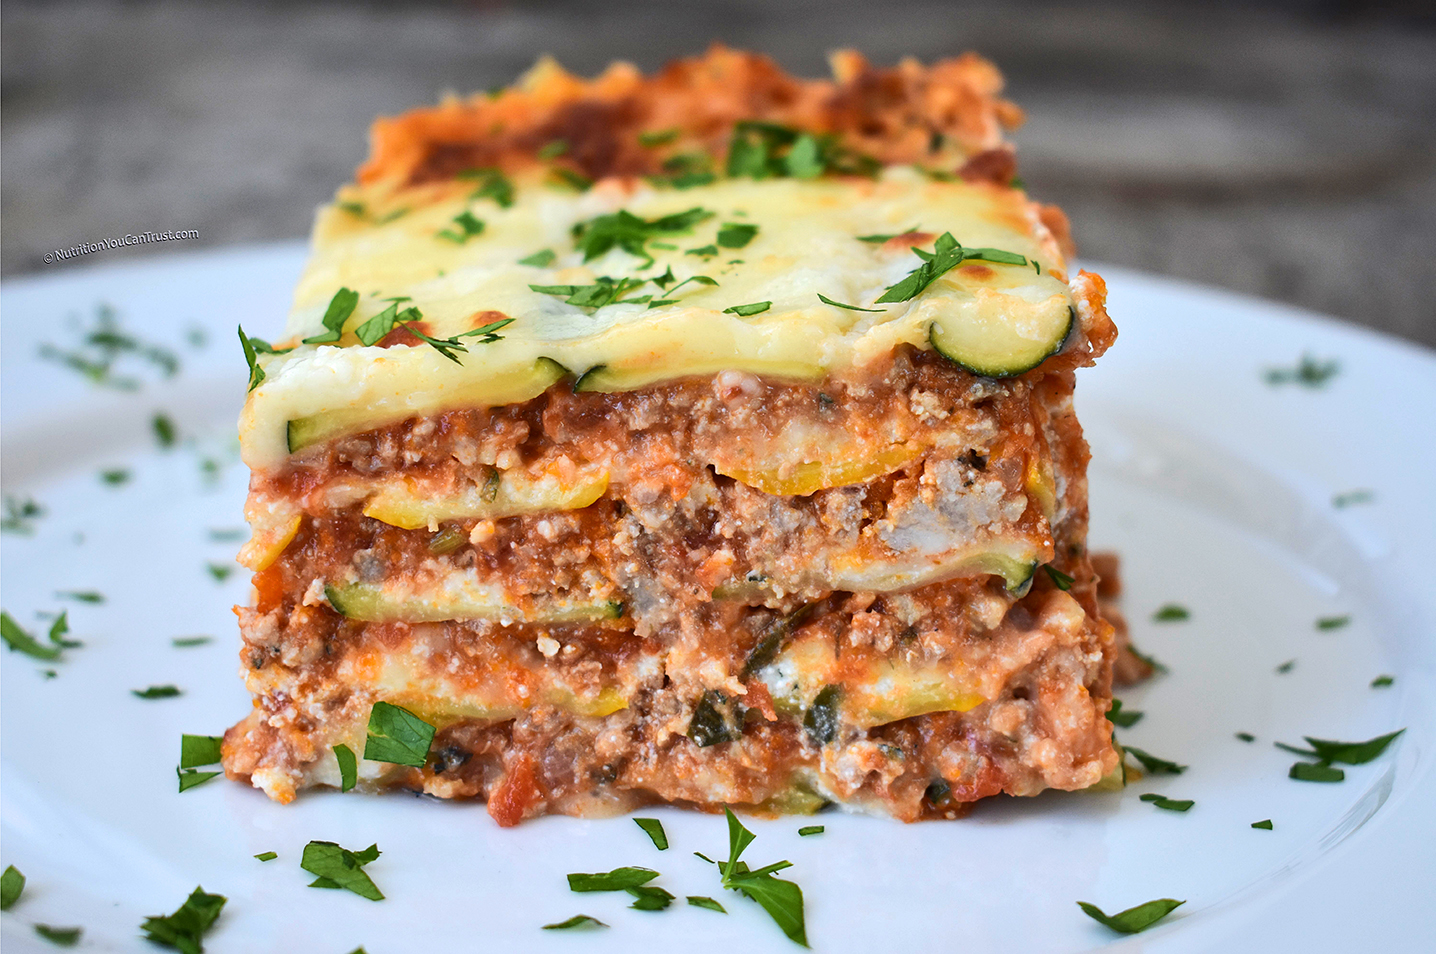
Care for a bite?
METHOD:
Let’s make our sauce first… and a quick note before we do: if you want to save some time, you can of course buy pre-made meat sauce. I like to do homemade because it tastes better and I’m usually using some self grown elements in it (onion, garlic, celery in this sauce for example). If you end up using jarred meat sauce, skip down to the “zucchini strips” step.
- Prep your mirepoix ingredients (carrots, celery, garlic, onion) and get your ground meats out and seasoned (big pinch of salt and pepp into the meats).
- Start two large pans on the stove (and note: if you don’t have two large pans, just cook the mirepoix first and when it’s done place it in a bowl so you can use your pan for the meat. I like to cook both at the same time to save some time).
- Pan #1: Bring it to a medium heat, add a couple glugs of olive oil and start the onion, carrots and celery. Toss in a pinch of salt and pepp and give it all mix around. Stir in the garlic after 5 mins. In about 10 minutes, it should all be done, or until the onion is translucent and carrot and celery soften up (just a bit, I still like a little “bite” to them).
- Pan #2: Bring to a medium-high heat. Add a couple glugs of olive oil all over and add all your meat evenly and let it brown on one side (Note: if your pan isn’t that big, you can do it in batches and when a batch is done just add it to a bowl. And one more note: when you add the meat you want to hear that sizzle sound. If no sizzle, pan isn’t hot enough). Don’t stir around the meat yet, let the meat sit there for 3-4 minutes sizzling to get some nice brown color on a side. Once it’s done browning on one side, do your best with a spatula to flip chunks of it on the opposite, non-brown side. Add a big pinch of dried oregano all over (about 1 tbsp) and sprinkle a little more salt and pepp if you think it needs it.
- Once you’ve turned the meat and added the seasoning, let it sizzle for another couple minutes and then start chopping it all with your spatula until it’s all into the more finely ground meat bits (see the “ground beef and pork cooking” picture above for a visual). Keep cooking it and stirring until the meat is all done. About 10 total minutes.
- When the meat and mirepoix is done, move your pan off the heat and combine the two together + add your fresh chopped herbs. Stir everything until combined well. Add the marinara sauce and stir well. Let this start to cool off to the side while we now start our zucchini strips.
- Zucchini strips: take your zucchinis and cut the ends off of each. Use the large mandolin on a grater and start making the strips. Note: make sure it’s the larger mandolin like I pictured above… you don’t want zucchini ribbons from a fine mandolin, but actual thicker strips.
- Once the zucchini strips are done, lay them out on some paper towels or kitchen cloth and sprinkle some salt lightly over each strip. Let them hang out for at least 15 minutes and you’ll notice the moisture rising to the top of each strip. Finally we want to pat dry them all really well (extremely important as we don’t want watery lasagna, right?)
- While the zucchini strips are doing there thing sweating, we can get our cheeses ready. Add the ricotta to a bowl with 1 egg + 1 tablespoon of dried oregano and mix it up really well. The mozzarella and grated parmesan get ready as well.
- Set your oven to 350 F and let’s start layering while the oven warms up (see the pictures above for a great visual on amounts I used)
- Bottom of your casserole dish: about a large soup ladle full of sauce, spread over the bottom evenly
- Next lasagna layer: zucchini strips evenly laid across from side to side and end to end
- Next lasagna layer: add some ricotta evenly over the zucchini
- Next lasagna layer: add a small handful of mozzarella all over
- Next lasagna layer: add a big pinch or two of the grated parmesan all over
- Next lasagna layer: more sauce and then repeat the process until you get to the very top
- Once you’re just about at the top, your last layer needs to be mozzarella all over to seal everything in, and finally a generous amount of parmesan over the top (I did about 3x as much then the amount used in the layers- see the picture above if you want a visual comparison). The parm will give us the crispy brown color on the top after it’s done baking.
- Into the 350F oven for 20 minutes, or until the top starts to brown a bit.
- Option: at the end if you want more brown and crispy bits on the top (I like this), you can turn your broiler on. I wouldn’t walk way from it though, keep your eye on it the whole time until it has the color you want on top.
- When it’s done, remove from your oven and let it hang out for at least 20 minutes to setup.
Finally when you’re ready to serve it, dive into it with a sharp knife to cut the size pieces that you want. Carefully remove a piece with a big spatula.
I like to plate up a big square piece and top off with some fresh chopped Italian parsley.
VERDICT: First bite I took I actually didn’t miss the lasagna pasta layers (and homemade pasta is my reward day kryptonite!). All the flavors work well and the zucchini bakes just enough that it still has some “bite” to it like a pasta layer would (it doesn’t cook into mush and get lost, in other words).
If you like lasagna and dig low carb cooking, you’re going to love this.
Enjoy!

This looks delicious!